Pre-writing shapes: the strokes kids need before letters
Before letters, children learn a set of strokes in a fairly fixed order: vertical line, horizontal line, circle, cross, square, diagonal lines, X, and triangle. Most kids work through the sequence between ages 2 and 5. Once a child can copy the diagonal shapes without help, their hand is ready to start forming letters.
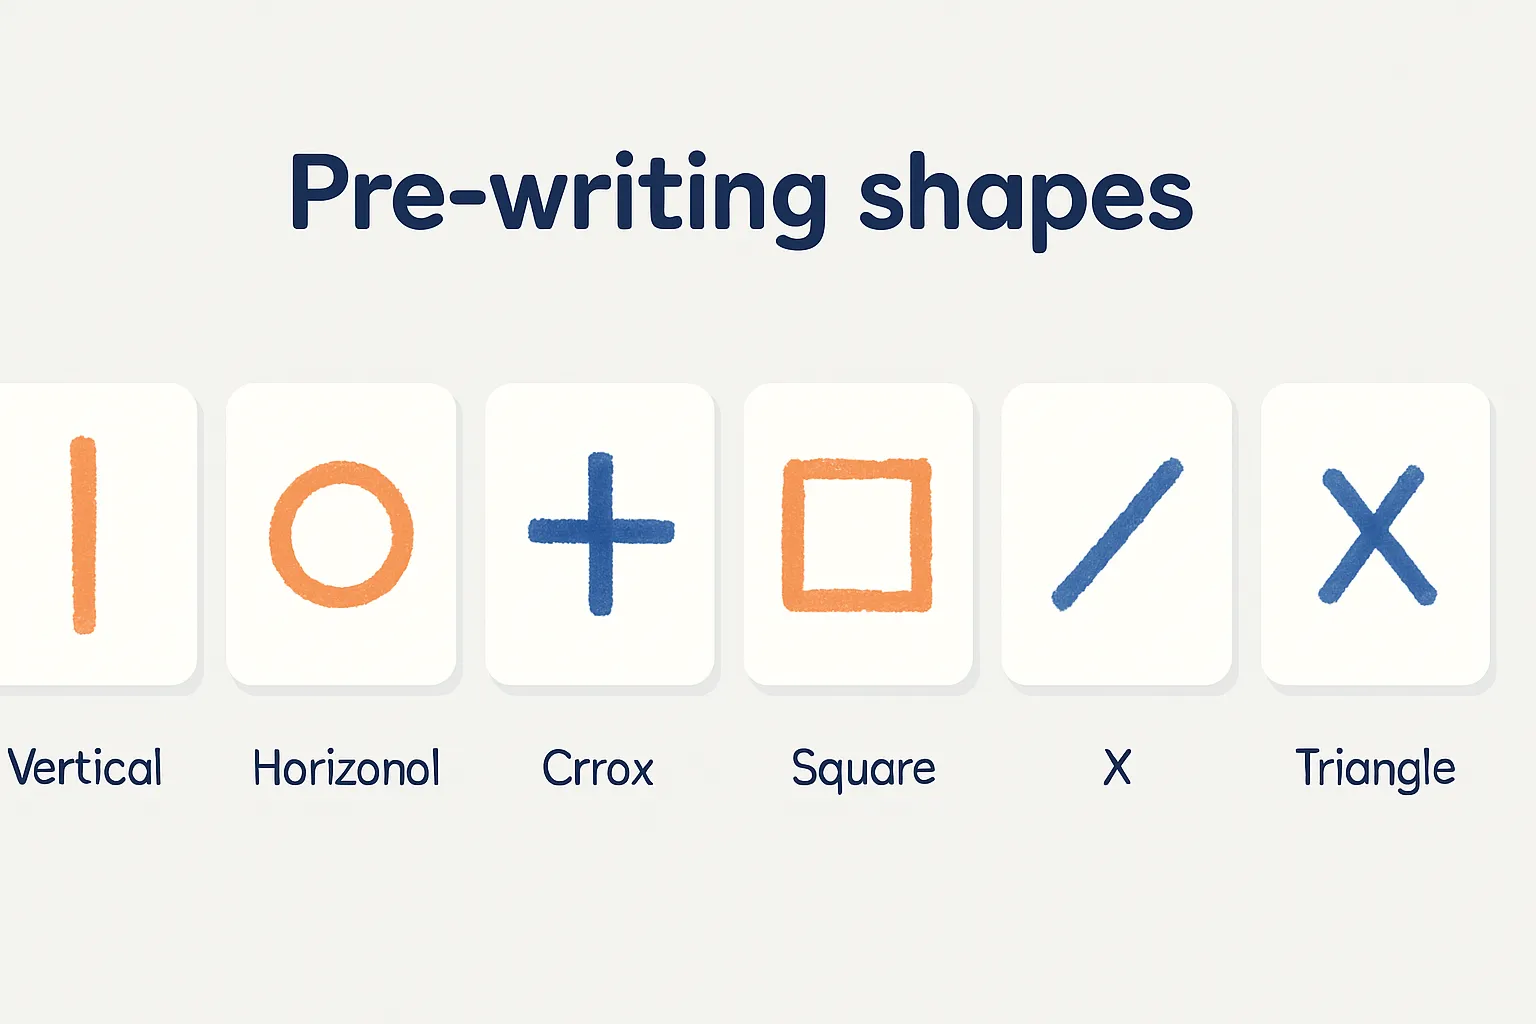
Every letter of the alphabet is built from a small set of strokes. An E is three horizontal lines hung on a vertical one. An O is a circle. An A is two diagonals with a bar across. A child who can draw those strokes on their own already owns the parts of every letter, which is why preschool teachers and occupational therapists spend so much time on shapes. Pediatric therapy milestones put rough ages on it: most children can draw vertical lines, horizontal lines, and circles by around age 3, and can copy a cross, a square, an X, and a triangle between 4 and 5.
This guide walks through the sequence one stroke at a time, with the age range for each, easy ways to practice, and the signs that your child is ready to leave shapes behind and start on letters.
What are pre-writing shapes?
Pre-writing shapes are the basic lines and figures children learn to draw before they write: a vertical line, a horizontal line, a circle, a cross, a square, diagonal lines, an X, and a triangle. Each one trains a movement that letters reuse. A child who draws a cross has practiced the exact strokes inside a lowercase t. A child who draws a circle is most of the way to O, C, and a.
The shapes also get harder in a meaningful way. Early strokes go in one direction, top to bottom or left to right. Later shapes ask the hand to change direction at a corner, close a curve where it started, or cut across the page at an angle. Every one of those skills shows up again in letters, so the sequence is really a quiet training program for handwriting. Skip it and letters get taught to a hand that cannot make the pieces yet, which is where a lot of early frustration comes from.
What order do kids learn the strokes, and at what ages?
The order runs from single straight lines to shapes with corners and diagonals: vertical line, horizontal line, circle, cross, square, diagonals, X, then triangle. The ages below are averages, not deadlines. A child six months behind one marker and ahead on another is developing normally. Watch the order more than the birthday.
- Vertical line, around age 2 to 3. A top-to-bottom pull is the easiest stroke there is, because the arm naturally drags downward. It appears in L, T, E, F, and dozens of other letters.
- Horizontal line, around age 2 to 3, usually just after the vertical. Moving side to side takes a little more control, since the hand has to travel across the body instead of pulling toward it.
- Circle, around age 3. The first curve, and the first stroke that has to end where it began. It becomes O, C, G, Q, and the round parts of a, d, and g.
- Cross, around age 3 and a half to 4. The first shape made of two strokes that must meet, which means planning where the second line goes. It is the skeleton of t and the plus sign.
- Square, around age 4 to 4 and a half. Corners are the new skill here: the hand has to stop dead and change direction four times instead of gliding through a curve.
- Diagonal lines, around age 4 and a half. Slanted strokes are a genuine leap, and they open the door to R, K, M, N, and more.
- X, around age 4 and a half to 5. Two diagonals that must cross in the middle, so the child has to aim one moving line at another.
- Triangle, around age 5. Diagonals plus corners plus a closed shape, all at once. A child who copies a triangle has every stroke the alphabet uses.
Why do diagonals come so late? Because they break the two easy frames of reference, straight down and straight across, and because they usually cross the midline of the body. Reaching the right hand over to the left side of the page without twisting or switching hands takes coordination between the two sides of the brain, and that connection is still wiring up at age 4. So a child who draws a lovely square but scribbles over your triangle is not being careless. Their hand is on schedule.
How do we practice each shape at home?
Draw the shape yourself, slowly, while your child watches, then hand over the crayon and let them try on the same page. That is the whole method. Work big before small: a shape drawn from the shoulder on a large sheet is easier than a tiny one drawn from the fingers. Two or three minutes at a time is plenty, and it does not need to look like a lesson at all.
Imitate first, copy second, then draw from memory
There is a real difference between a child who imitates a shape and one who copies it, and knowing it saves a lot of confusion. Imitating means your child watched you draw it and then repeated the movement. Copying means they looked at a finished shape, with no demonstration, and worked out the strokes themselves. Copying is harder and comes months later for each shape. So if your child can make a cross after watching you but stares blankly at a printed one, that is a normal stage, not a step backward. Demonstrate for as long as they need it, then start covering your drawing hand and letting the printed shape do the teaching.
- Draw shapes huge in chalk on the pavement, then let your child walk or hop along each line. The body learns the path before the hand does.
- Trace shapes with a finger in a tray of salt or sand, or in shaving cream on the table. The texture gives feedback a crayon cannot.
- Build shapes from sticks, straws, or pipe cleaners first, then draw what you built. Making the shape with objects shows where each stroke belongs.
- Hide the shapes inside drawings. A house is a square, a sun is a circle with lines, a kite is a diagonal shape with a cross inside. Kids will draw for a picture long after a drill gets boring.
- Paint shapes with water on a fence or wall with a fat brush. Big arm movements, zero cleanup, and mistakes evaporate.
- Drive a toy car along a shape drawn on cardboard. Following the track is tracing, even if nobody calls it that.
One habit worth building from the start: draw vertical strokes top to bottom and circles counterclockwise, starting near the two o'clock position, and nudge your child to do the same. Those are the movements letters will use later, and a hand that already pulls down from the top has a head start on almost the whole alphabet.
If your child gets stuck on a shape, back up a step instead of repeating the failure. Move from copying back to imitating, so they watch you draw it again before they try. Make the shape bigger. Rest your hand lightly over theirs for two or three tries, then let go. Or set that shape aside for a week, enjoy the ones they already own, and come back. Stuck almost always means the hand needs more time, and time is cheap at this age.
When is a child ready to move on to letters?
A child is ready for letters when they can copy a cross and at least attempt diagonal shapes, hold the crayon with their fingers rather than a fist, and show interest in letters or their own name. Most kids reach that point somewhere between 4 and 5. There is no prize for starting earlier, and a month of extra shape practice is never wasted.
- They copy a cross from a printed model, without watching you draw it first.
- Their square has corners, even wobbly ones, instead of rounded-off curves.
- They attempt an X or a triangle and get recognizably close.
- They hold the crayon with fingers, not a whole-hand grab, and the marks go roughly where they intend.
- They ask about letters, point out the first letter of their name, or try to write it on their own.
When those boxes are ticked, start with the letters that matter most: the ones in your child's name, in capitals first, since capitals are built from the very strokes they just mastered. Type the name into the free name tracing generator and print a sheet, or work through the printable handwriting practice sheets a few letters at a time. And if you are unsure whether to push ahead or wait, our guide on the best age to start handwriting covers the readiness signs in more depth.
Make a name tracing worksheet
Type a name, pick a font, and print a free tracing sheet to practise with.